Start with an observation, not an identification
A useful object record begins before you decide what to call the object. Give it a stable local identifier and write a plain description of what is visible: shape, markings, components and apparent materials. Keep an initial description even after you improve the attribution. It preserves the distinction between the evidence collected at the time and the interpretation reached later. A museum accession number, a manufacturer serial number and a published type reference serve different purposes; give each its own field.
Prepare a clean, stable work area and decide which views can be obtained without intervention. Photograph the object as found rather than cleaning it to improve the image. Existing dirt, wear, labels and repairs may be relevant evidence, while cleaning can permanently change a surface. If the object is fragile, flaking, damp or mechanically unstable, stop and ask an appropriate conservator or specialist. Documentation is not a reason to take an avoidable risk.
Reference: US Department of the Interior: Museum Property Handbook
Make an overall view that can stand alone
Use a neutral, non-reflective background and leave enough space around the object to show its outline. An overall photograph should make sense without a caption: it must not crop away a rim, a handle, a protruding mechanism or the margin of a banknote. Include an identifier beside, not on, the object in a documentation view. Take another unobstructed view if a label or scale would distract from the design.
Use a supported camera or phone, check focus on the actual object, and inspect the result at full size before moving anything. Small lettering often looks legible on a phone screen but disappears in the saved image. Do not rely on digital zoom to create detail that was never captured. Retake an out-of-focus image rather than applying aggressive sharpening that introduces misleading edges. A clear photograph is evidence of visible form, not evidence of material composition.
Build a safe set of views
Coins and medals usually need a photograph of each face. Add an edge view only if the object can be supported safely; lettering or milling may be important, but unsupported balancing can cause a fall. Banknotes, stamps and postcards need front and back views where handling permits them. Keep orientation consistent and record when an image has been rotated for reading. An intact enclosure may prevent a useful view; describe that limitation instead of forcing access.
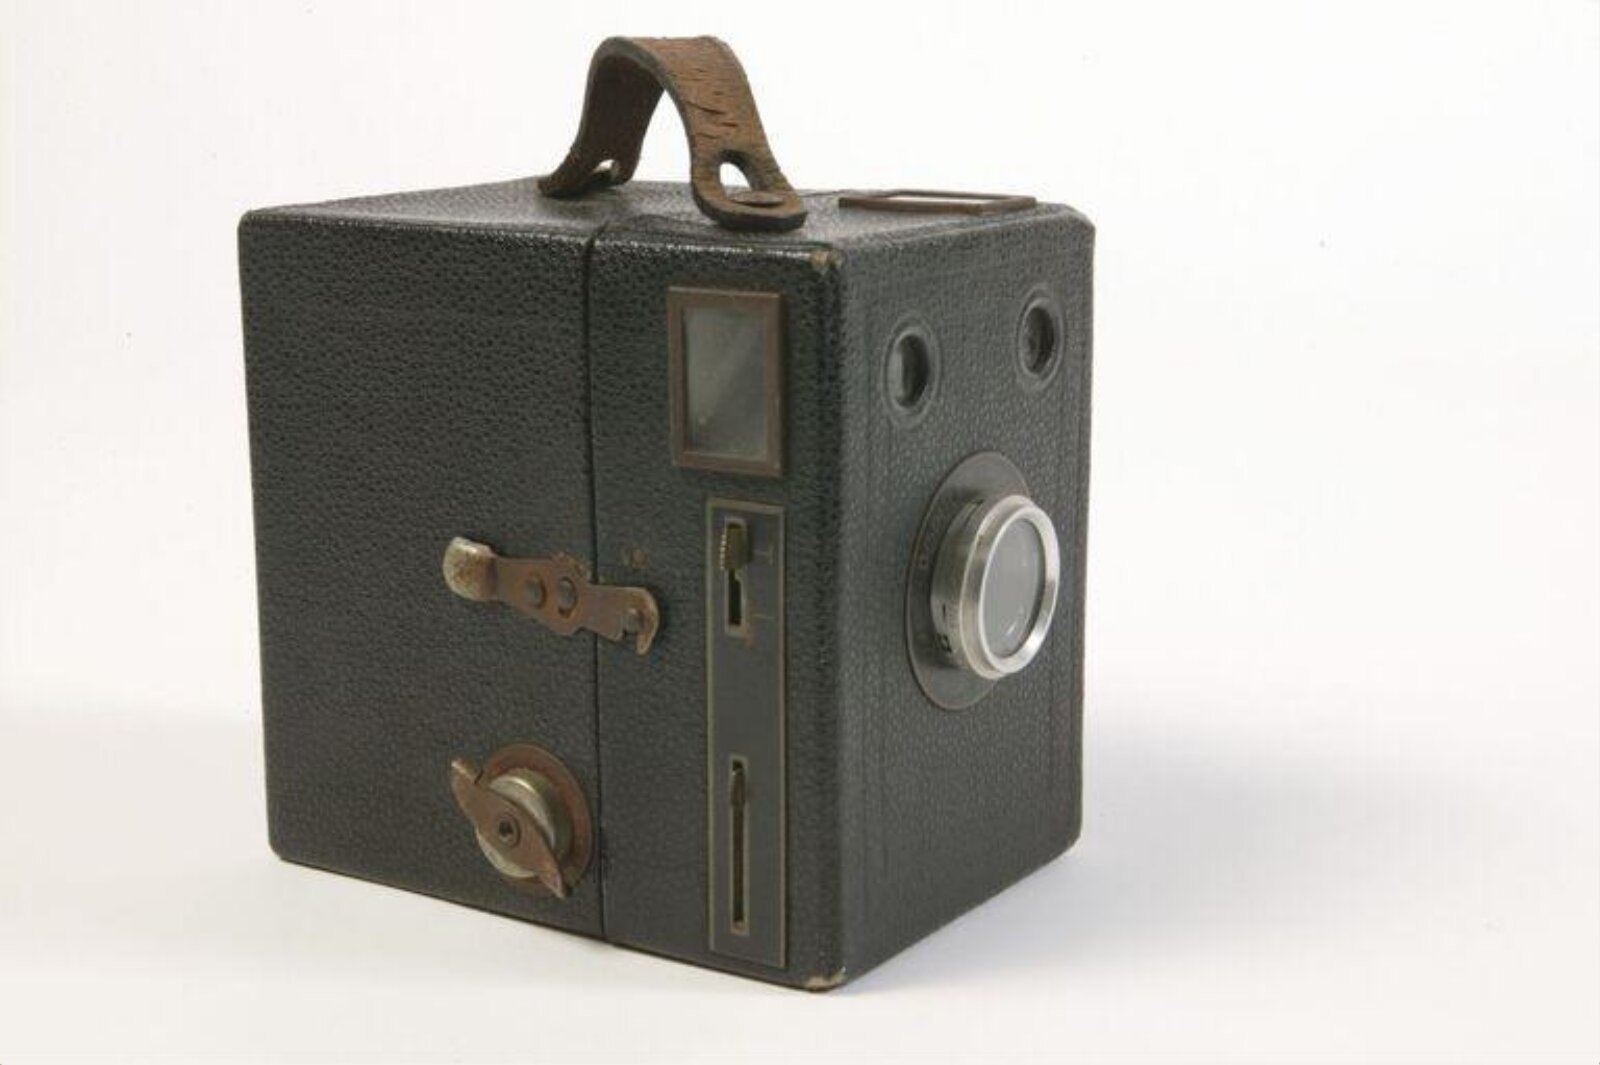
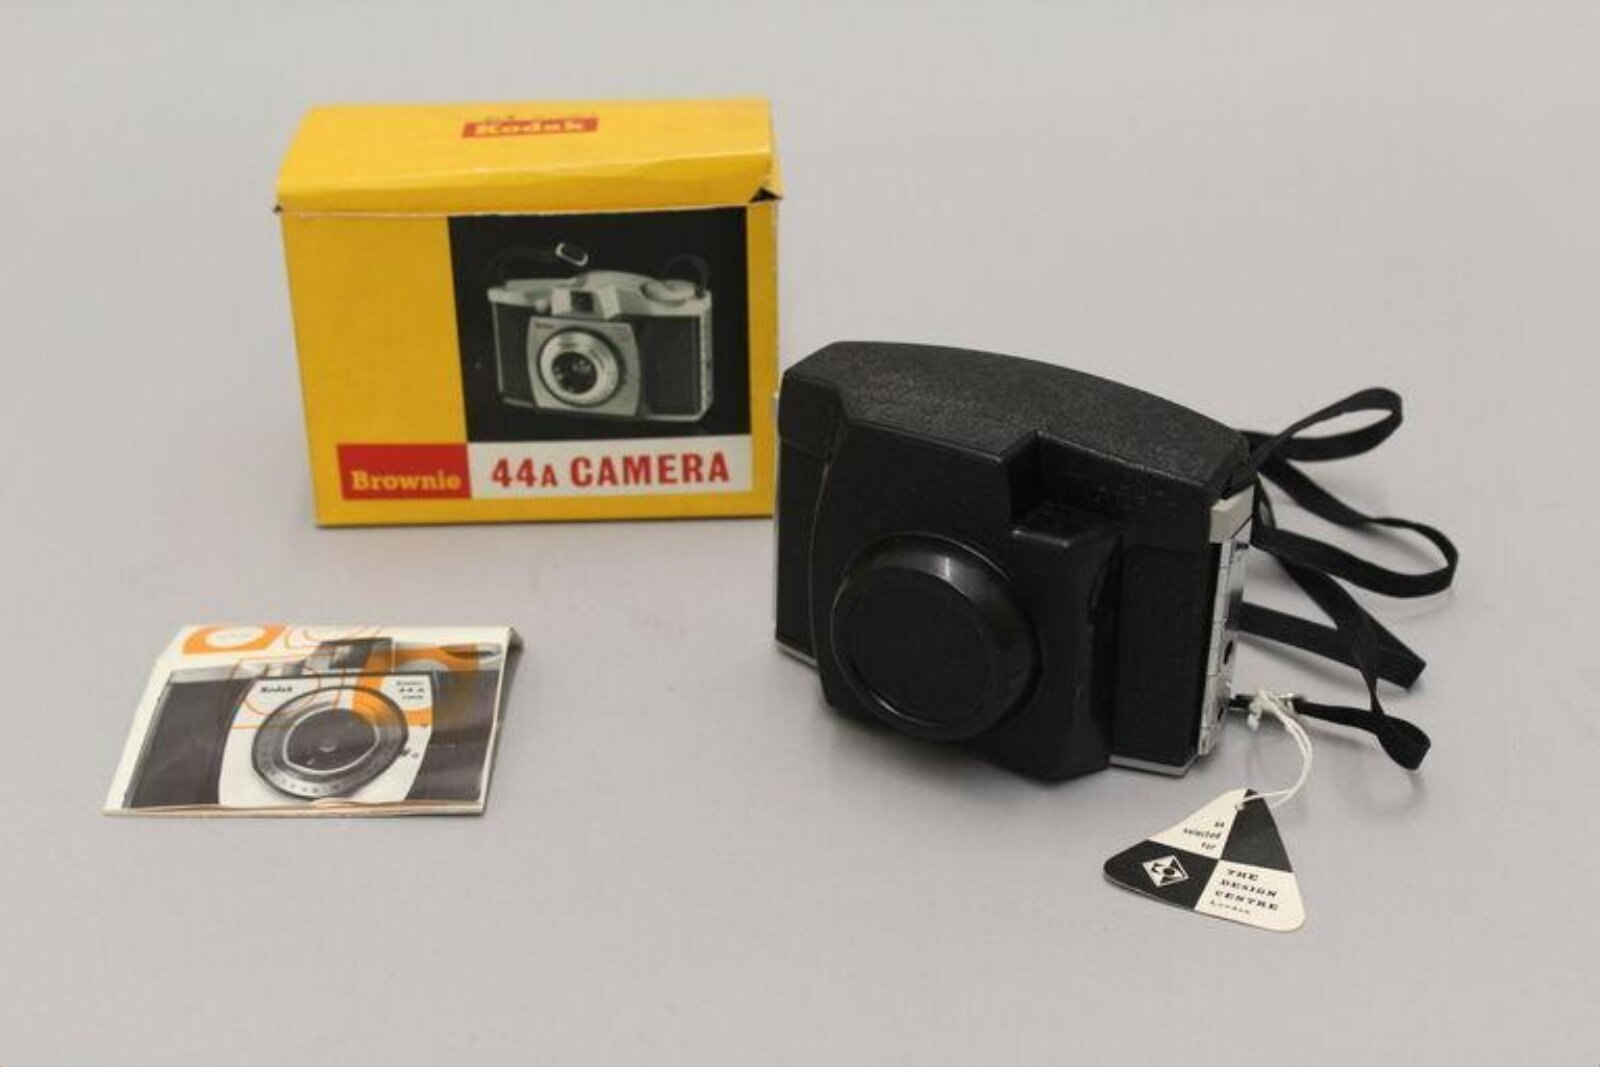
Watches, cameras and pens require views of their overall form and visible controls or markings. A dial alone does not document a watch movement, and a camera body alone does not establish which lens was originally supplied. Photograph safely accessible components and say which remained concealed. Do not open a sealed case, unwind a fragile mechanism or dismantle a pen to complete a checklist. Photographs of hidden parts belong in the record only when legitimately and safely obtained.
Reference: US Department of the Interior: Museum Property Handbook
Use scale and lighting honestly
A ruler or scale in the same plane as the object gives a useful visual reference. It does not replace a separately recorded measurement: perspective, lens distortion and the position of the scale can affect interpretation. Write the units and method beside a measurement, and distinguish the object from its mount or case. If a dimension cannot be measured without risk, leave it unknown. Never infer a precise diameter or thickness from a seller photograph without a dependable scale.
Even lighting helps show form without large reflections or shadows. Reflective metal may require several lighting angles; paper may require a view that does not conceal folds or embossing. Preserve the ordinary overall image alongside any detail made with directional light. A grey or colour reference can help assess photographic consistency, but it cannot prove an alloy, an ink formulation or authenticity. Record unusual lighting when it changes how a surface appears.
Separate originals from presentation copies
Keep the best original capture available and make smaller derivatives for sharing or website use. Do not repeatedly overwrite an original JPEG after cropping and adjusting it. Preserve a sensible relationship between filenames, object identifiers and views, such as an identifier followed by front, back or detail. File naming should remain useful if an object later receives a different attribution. A folder named only with the proposed maker may become misleading after a correction.
Routine presentation adjustments should not remove damage, create lettering or reconstruct missing parts. Keep a note of crops, rotation and tonal adjustments. If a comparison image is annotated, retain the unannotated photograph too, so another researcher can examine the evidence independently. A composite of both faces can be useful for a comparison, but label it as a composite and retain the separate views. Do not present a manipulated image as an untouched photograph.
Reference: US Department of the Interior: Museum Property Handbook
Write a condition description without grading
Record observable features in neutral language: a fold crossing the portrait, a tear at the margin, a missing screw, a dent on the case or a scratch across lettering. Give the location, and add a detail photograph if it can be made safely. Avoid transforming a descriptive note into a numerical grade or an authentication claim. Two objects of the same type may have entirely different condition, repairs and histories.
Use a date on condition observations. If a later photograph appears different, compare the lighting and camera settings before concluding that the object changed. Where change is suspected, retain both records and explain the uncertainty. Documentation can help a conservator assess an object, but it is not a diagnosis. Do not test a mechanism, wet paper, rub a surface or apply a chemical in order to make a condition statement sound more definite.
Reference: US Department of the Interior: Museum Property Handbook
Keep sources and rights attached to each image
A photograph found online needs its own provenance record. Save the original object or lot page, the named institution or photographer, the stated rights terms, the date you consulted them and the relationship to the pictured object. A search-result thumbnail is not a sufficient source. The seller of an object may not own the photograph, and ownership of a physical collectible does not automatically give copyright permission for a third-party image.
For an open museum image, retain the institution’s stated licence and any attribution instructions. For a commercial photograph without a clear grant, record rights clearance pending rather than calling it public domain. Ask the rights holder specifically about website display, modifications, attribution and duration. Keep a stable image identifier so a permission refusal or takedown can be acted on without confusing the photograph with other views of the same type.
Reference: US Department of the Interior: Museum Property Handbook
Turn documentation into a comparison
Compare a photographed object with a named source and list both agreements and differences. A matching portrait is a starting point; lettering, denomination, construction, edge and relevant marks may narrow the type further. The museum examples below show what a source-linked specimen record looks like. They are reference objects, not a promise that every superficially similar object shares the same type or history.
End the record with a short research status: what is documented, what is proposed, and what remains unknown. Cite the specific page or museum object that supports an attribution. Keep conflicting readings visible rather than replacing one silently. A good record is designed to be revised: another researcher should be able to reconstruct how it was made and decide which evidence would resolve the remaining question.
Reference: US Department of the Interior: Museum Property Handbook